
In the early stages of a design the decision to use precast or In Situ concrete on structural components may not have been fully considered. There are many factors that could influence the design and ultimately the construction processes that are implemented. Some typical benefits of precast is Quality control and speed of construction since we are not working with ‘wet’ materials and not having to wait for the concrete elements to fully cure before other structures can be assembled. However, designing with precast elements is a little like a Lego set, you can only create certain forms with economy!
Autodesk Revit 2018.1 now incorporates a precast module that was acquired from IDAT a few years back. This solution allows for the conversion of planar walls and floors to precast elements which is perfectly suited to the design workflow as outlined in the above paragraph. We can take the initial design and then at a later stage decide to convert these into precast elements.
Shown below are the new precast tools found on the Revit 2018.1 Ribbon.

As you can see from the image above the tools are focused around the division of singular elements such as walls and floor slabs. The splitting of the walls and floors are governed by Configuration settings. For example, you can set a maximum weight and maximum set of dimensions for lifting and transportation. These tools automate the creation of Revit Assemblies which enable the detailing of each individual precast element and the output of CNC code for UniCAM (Unitechnik) and PXML (ProgressXML). There are many settings that the user can tweak and change and below you can see the configuration for the walls maximum dimensions, weight and jointing.

Another task that the precast module automates is the placement of anchors, bushings and connectors. These are standard Revit families that can be replaced with specific manufactured parts for full coordination and costing.

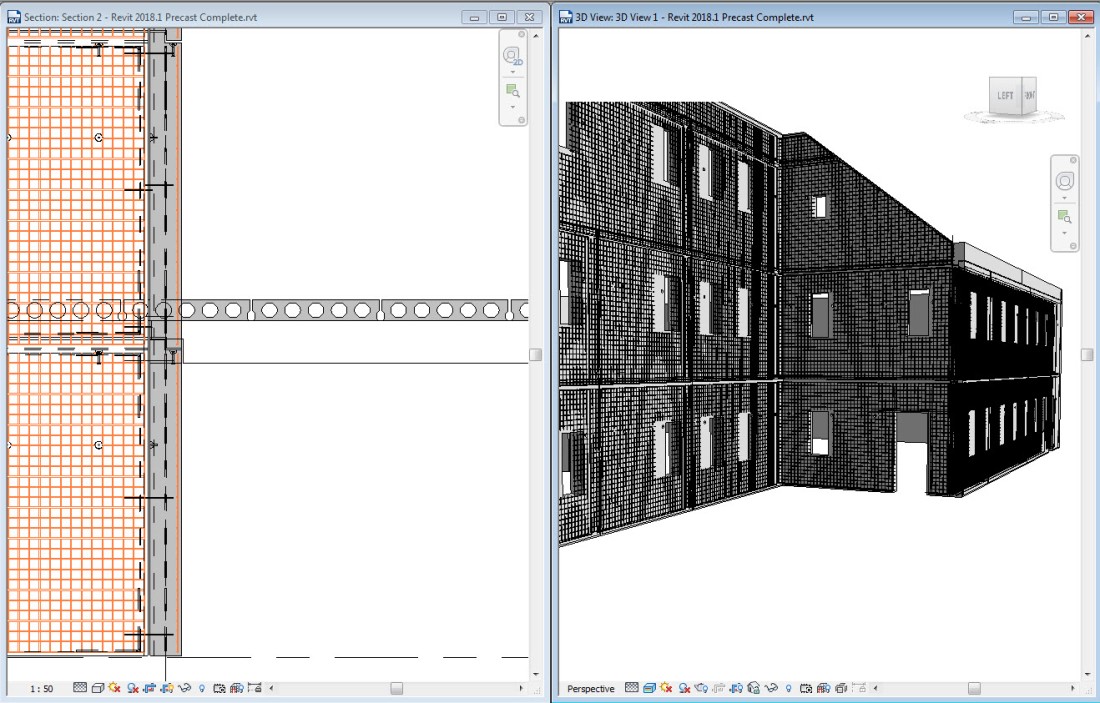
The reinforcement bar is also added via intelligent macros that allow the end user to configure typical arrangements of reinforcement bar. There is not currently an automated way of placing reinforcement bar around openings such as doors and windows but this bar can be added to the part with the standard reinforcement tools. In the below image you can see that the Area and Edge reinforcement can be customised and also have a library of types configured.

One of the most powerful features of this software is the ability to generate automatic drawings to detail the precast elements as well as the cast in connections and other placed objects such as electrical voids and similar.

The above image shows a typical drawing that is fully automated. Note that the centre of Gravity is also located to allow for the planning of lifting. The panels also support the tilt method of construction which is also useful.
Check out the 10min Tutorial video below.
LawrenceH
